
Create products in Shopify
Creating products on Shopify is quite simple. However, there are some points where you simply get along better with a short explanation.
Create a new product
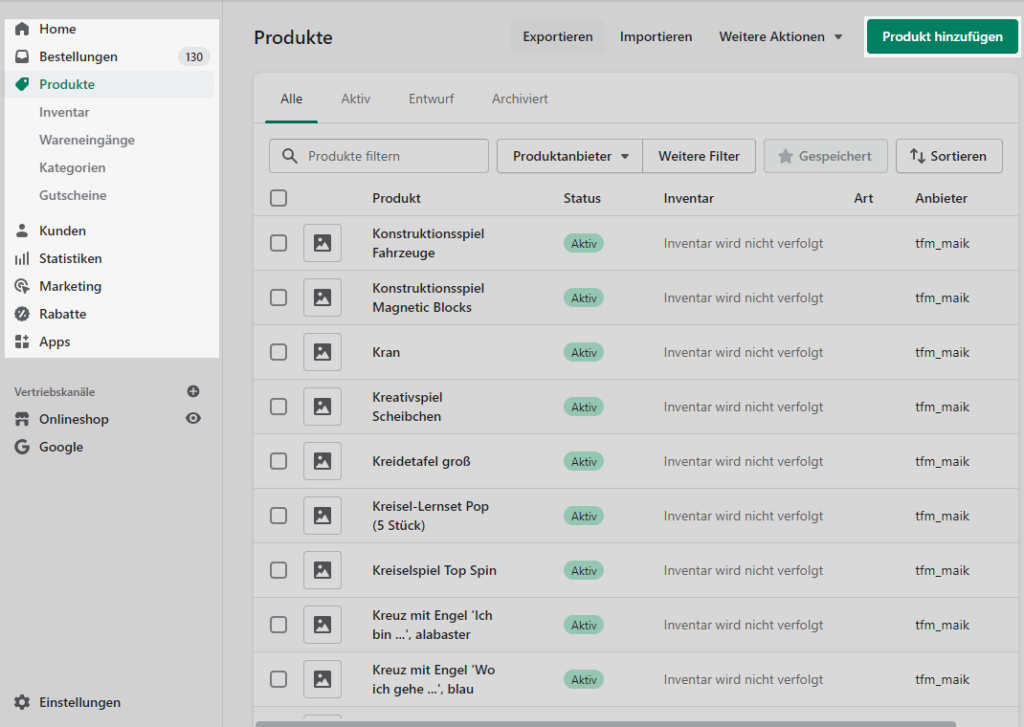
To create a product, navigate to the “Products” item in the Shopify admin area on the left.
In the overview that opens, there is a green button labeled “Add product”. Click on it.
After that you will get to the product detail view and see all fields and options of the product.
The first thing you should decide is whether your product is a standard product or if it is a product with different variants.
Product overview – Add product (top right)
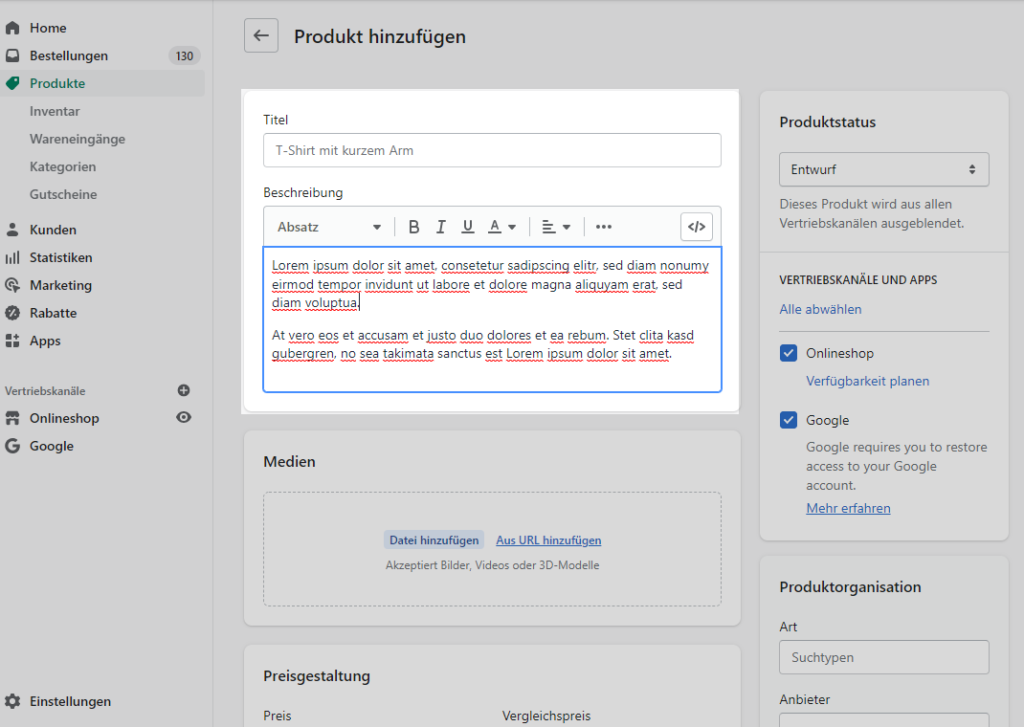
Title
This is the name of the product.
This name appears in all listings / in the shopping cart / on the product page.
For a variant product, this is also the name, but the variant option is appended (e.g. T-shirt with short sleeves – M / Red).
Description
Here you can put the description of the product. Also videos / images or HTML elements can be used. This description is displayed for all variants.
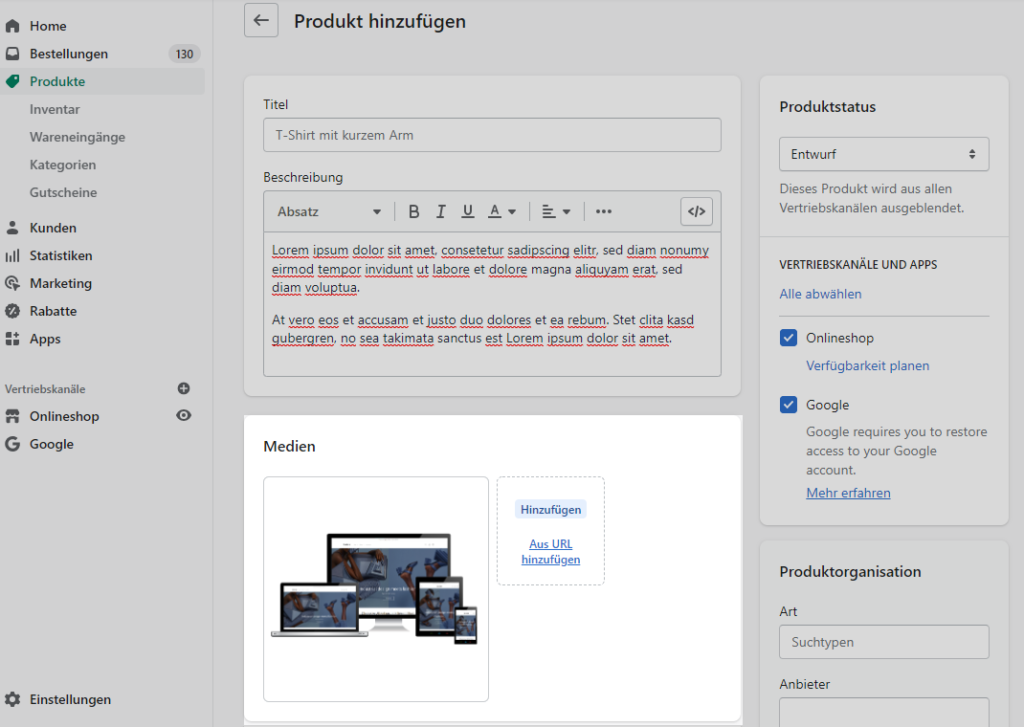
Media
Under Media you can add images, videos and 3D models to the product.
You can arrange the order of the individual media as you wish via drag & drop.
The largest image is the main image, which appears in the listings, in the shopping cart, etc.
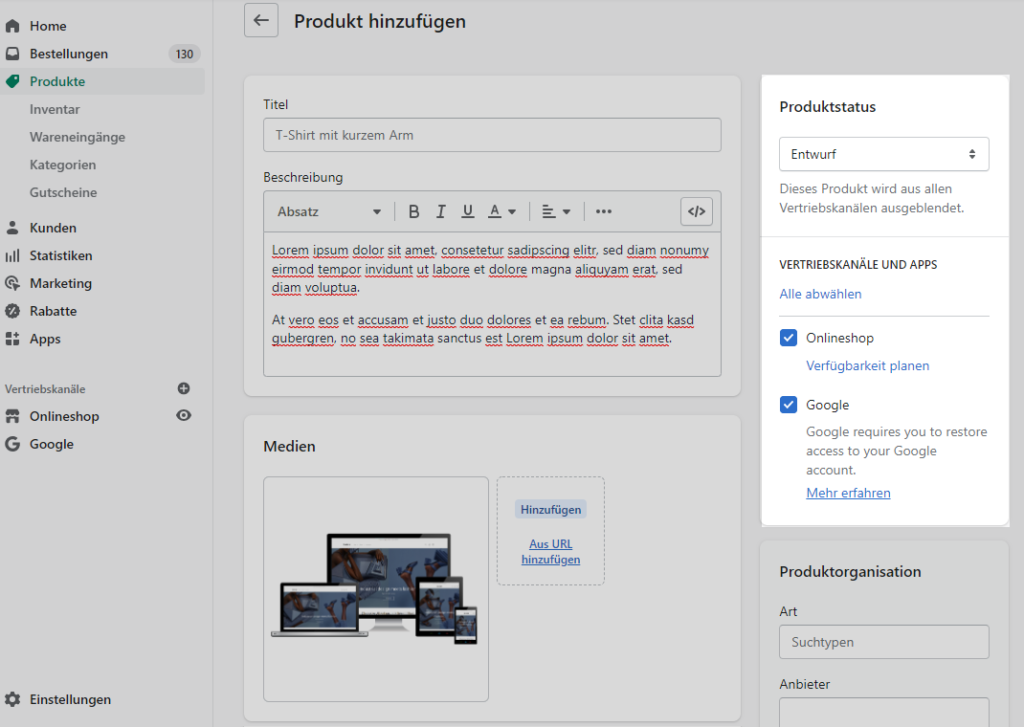
Product status
In the product status we have once a selection field where you can decide between “Active” and “Draft”. If the product is saved as a draft, the product is not visible in the store.
In addition, we can set up the sales channels here. For example, if you sell a certain product in your online store, but you don’t want to promote/sell it through another sales channel, you can select it here.
The product must be “active” in terms of status and available in at least one sales channel so that it can be seen or purchased.
Product organization
Under Product organization you can assign the provider, the type, as well as the categories of the product.
When clicking in the “Type” field, you can choose between already suggested names or enter an individual value.
When clicking in the “Provider” field, you can also enter a value defined by you or choose between providers already used in the store.
When clicking in the “Categories” field, you can choose between categories already used in the store. (Only for “Manual category assignment” ) See also “Creating categories in Shopify”.
The last item under product organization is the tags. Tags are a very useful way to automatically categorize products or to perform queries in the template to show or hide certain content. (For example, you could display an icon in the store for products that are excluded from return if a certain tag is set).
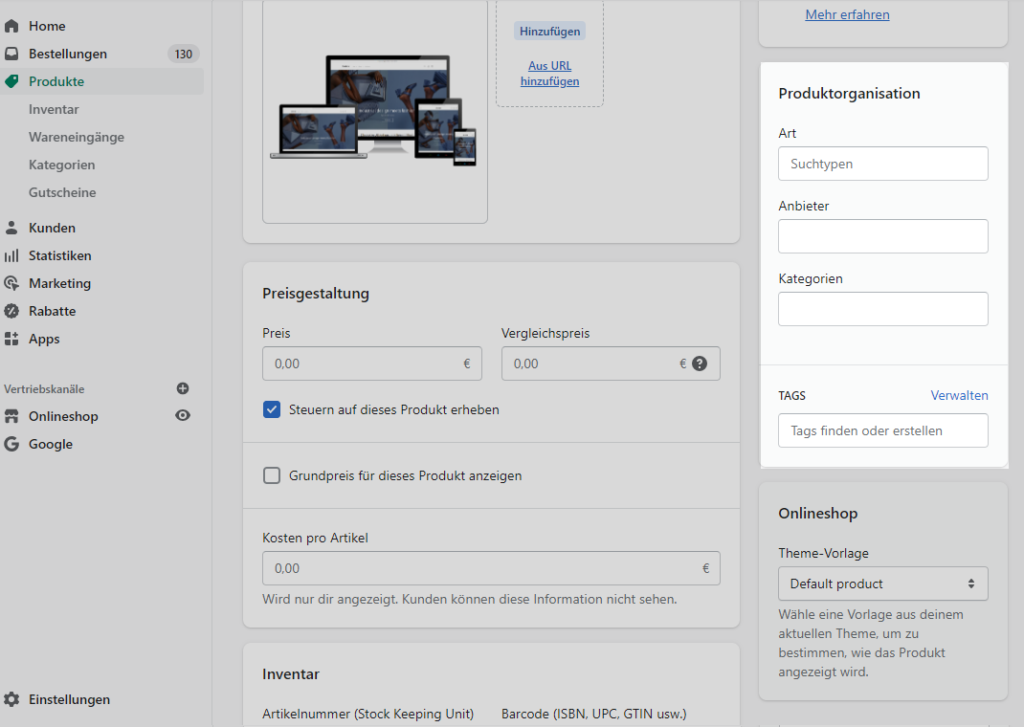
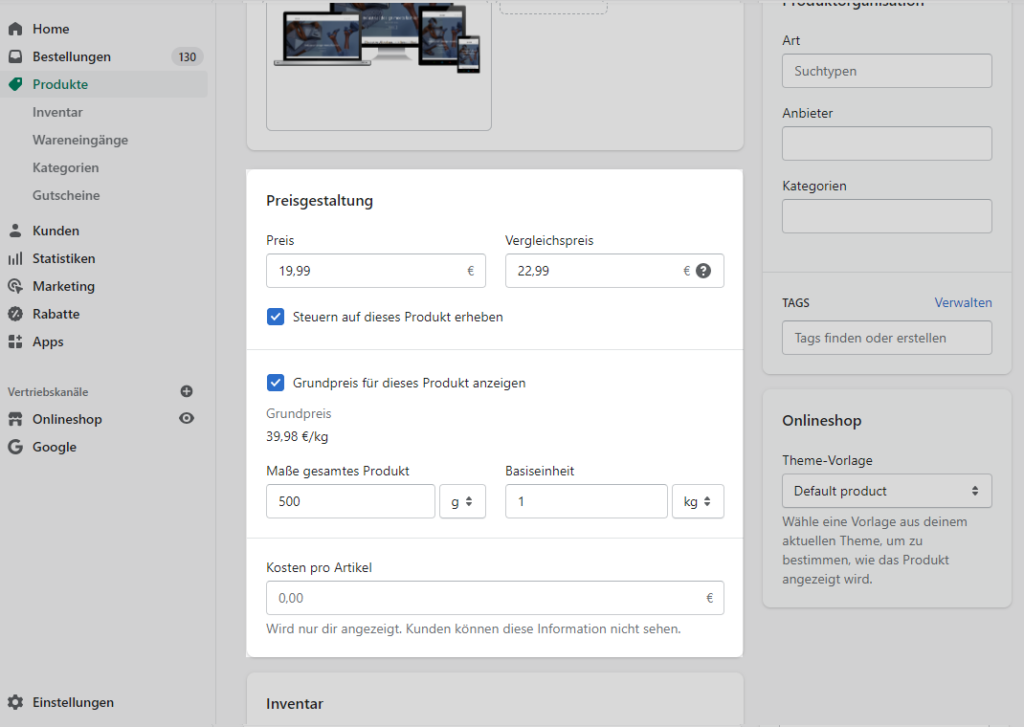
Pricing
Under the pricing you can set the price of the product. In the Price field you must enter the price of the product.
The Comparison price field is intended for the original price of the product. This field is optional and is used when the price is to be displayed as a special price.
Below that there is a checkbox “Charge tax for this product”. If checked, a tax will be charged for the product.
After that comes another checkbox “Show base price for this product”. If checked, you can create a base price for the product by specifying the dimensions and the unit. (Please keep in mind that for many products a base price is mandatory).
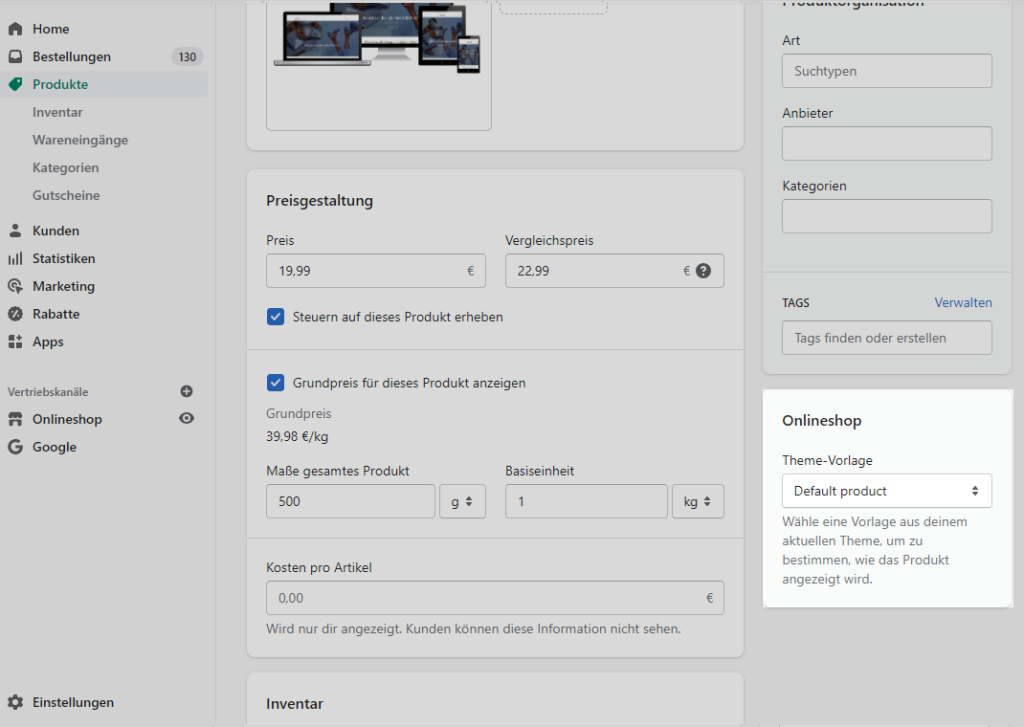
Online Shop (Theme Template)
A theme template can be selected to give the product a different design. However, an alternative template must be available or created in your theme.
Inventory
Under Inventory you can set up the stock of the product. You can assign an item number (SKU) and barcode (ISBN, UPC, GTIN, etc.) to the product.
You can also set whether the stock is tracked and whether the product should be sold even if the stock is empty. Per location you can configure the available number of products.
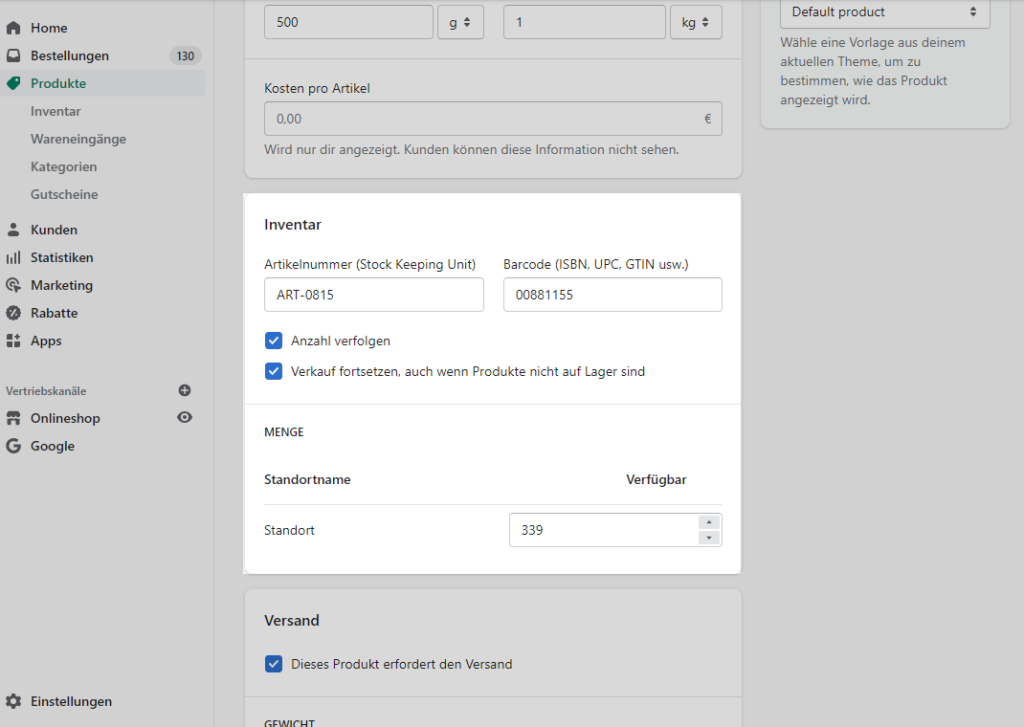
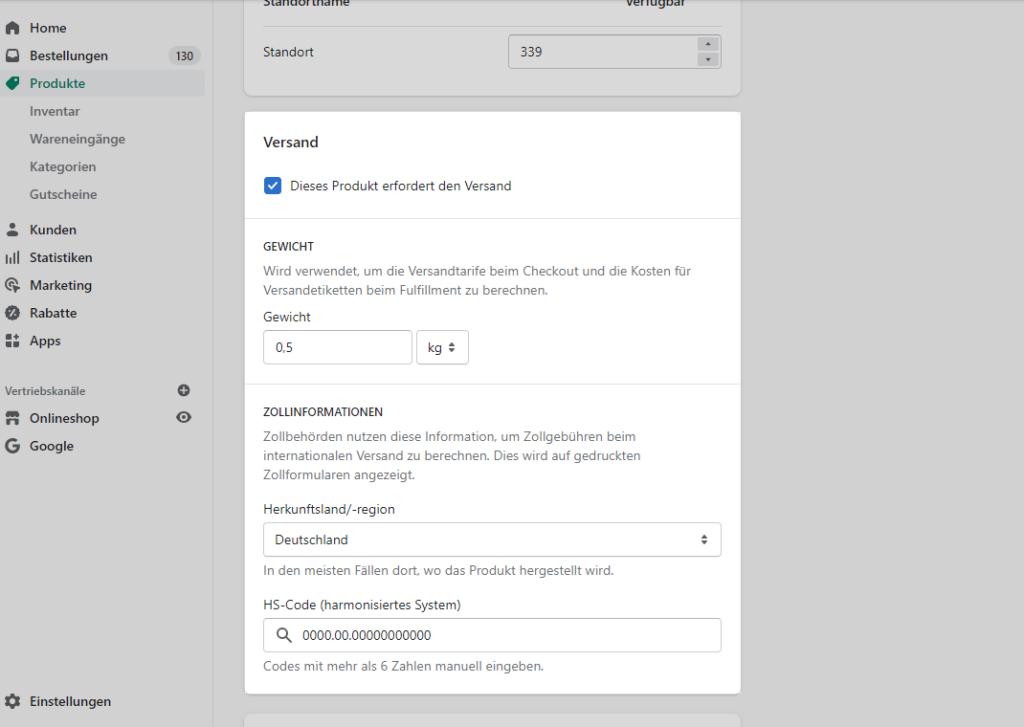
Shipping
Under Shipping there is a checkbox “Product requires shipping”. If checked, the product requires shipping and you can additionally specify the weight of the product, as well as information for customs (country of origin / HS code). Please keep in mind that specifying the weight is usually required by law.
If the checkbox is unchecked, this product does not require shipping. This is required for digital products.
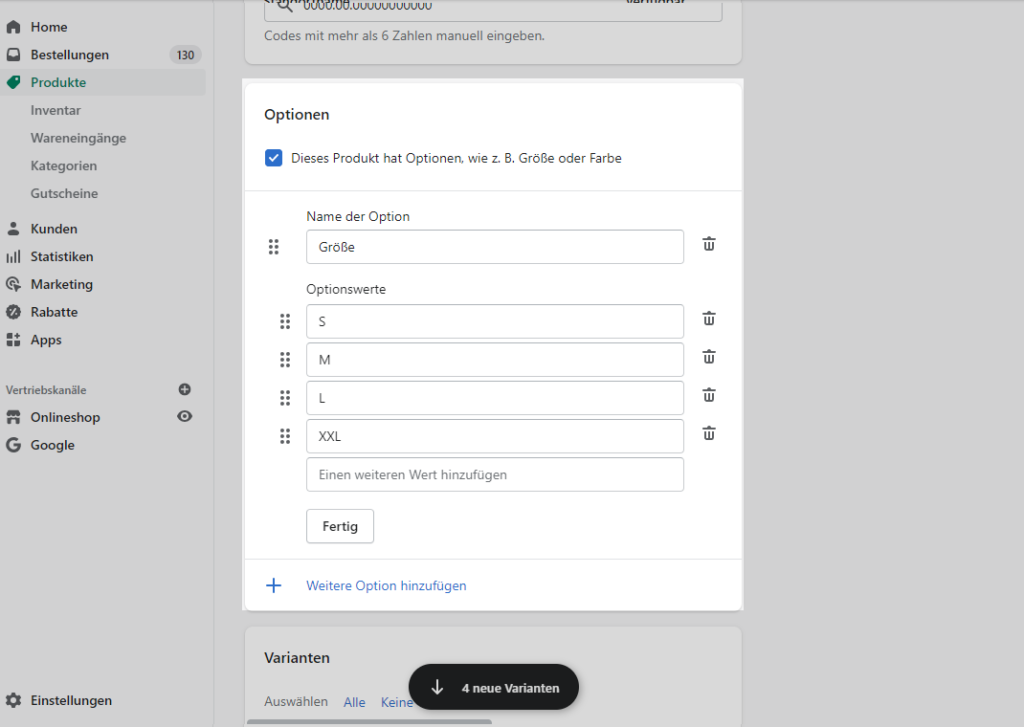
Options
If your product has no variants, you can skip this part. Otherwise, tick the checkbox.
You will then see a field with “Option name” and “Option values”. For example, you can select “Size” as the name and enter “S”, “M” and “L” as the option values.
If you then press the “Done” button, your variants will be generated automatically.
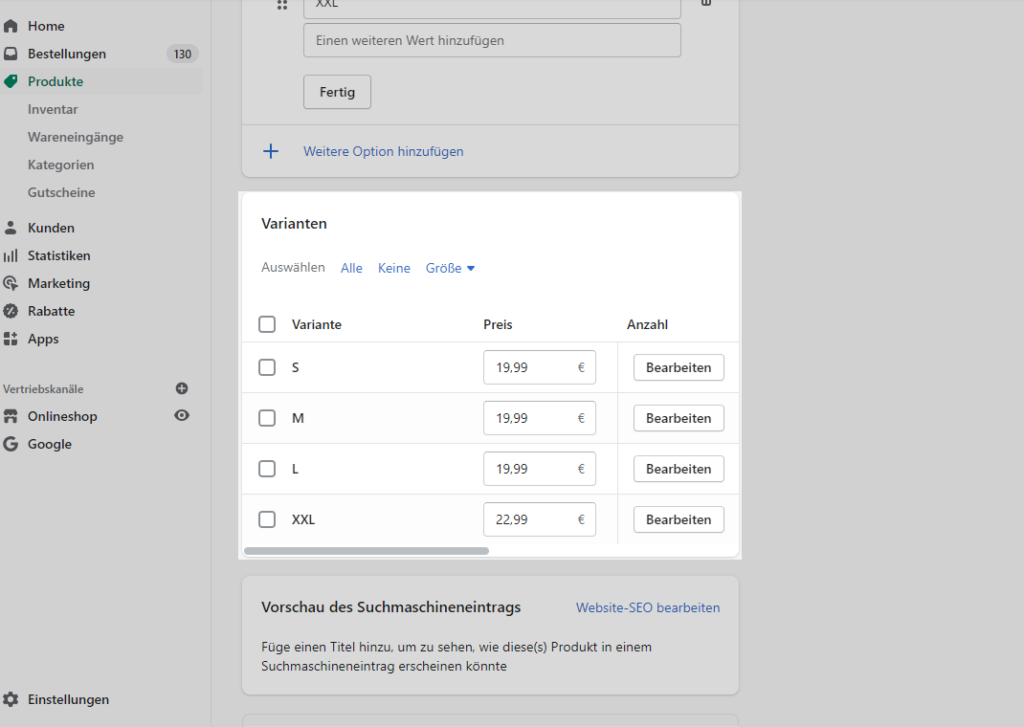
Important: A limitation of Shopify is that your products can have a maximum of 100 variants, which are made up of up to three options.
As you may already see in the screenshot, when you generate the variants, a new area appears with the heading “Variants”.
There you can set the quantity, price, barcode, etc. per variant.
Either directly in this overview or by clicking on “Edit”.
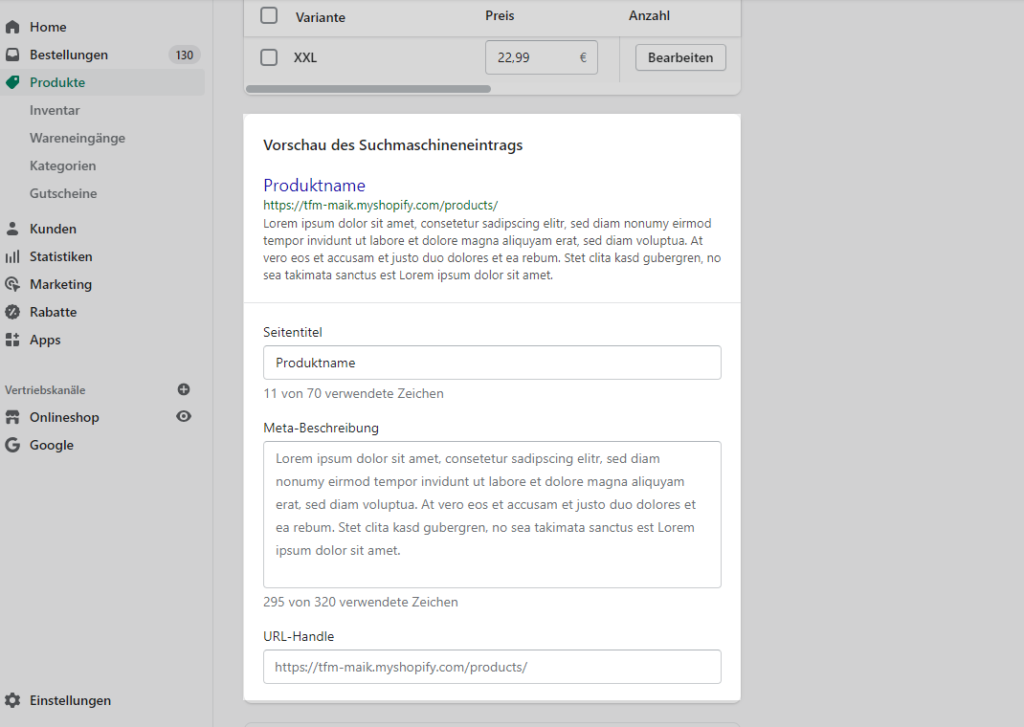
Preview of the search engine entry
To customize metadata such as the page title or product meta description, click “Edit Website SEO” in the section.
Here you can enter the desired values.
Otherwise, the product name is taken for the title and an excerpt from the product description for the meta description.
You can also change the URL handle. This is also generated automatically from the product name.
Do not forget to finally save your product.
In principle, the setup is hereby completed.
If you are still missing certain fields, you can also create additional meta fields (at product or variant level) via Shopify and also fill them with data.
The output of the meta field data then again requires a customization of your store theme.
For more information on creating products, see the Shopify documentation.