
Bulk editing of products in Shopify
When multiple products need to be edited and each product needs to be manually accessed, modified, and saved, you can quickly run out of steam. Fortunately, Shopify natively offers multiple ways to bulk edit products (including variants).
The “classic” bulk processing with Shopify
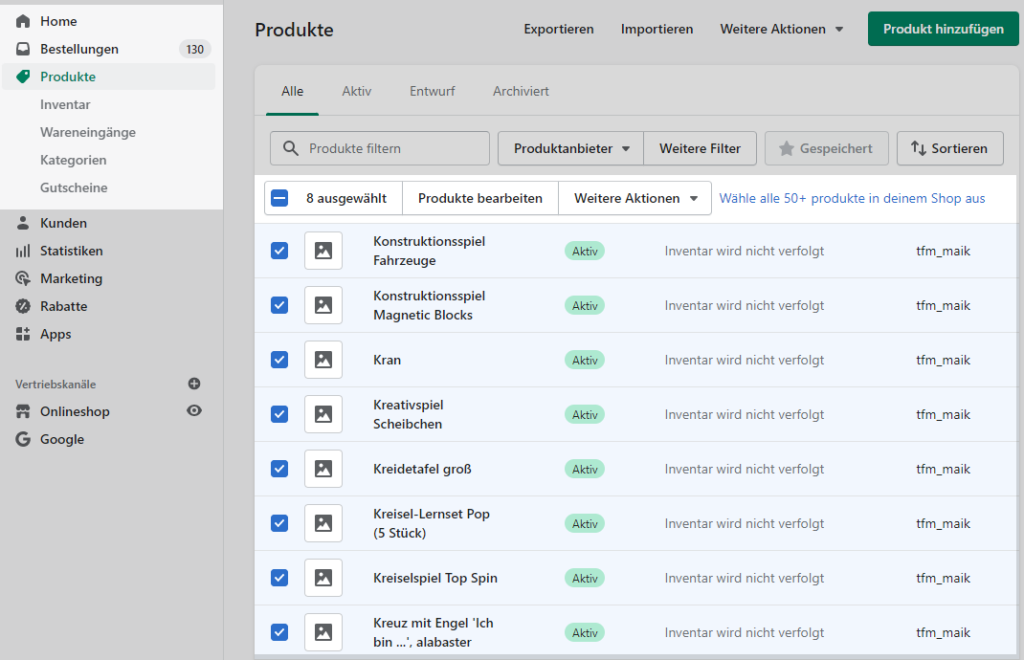
To edit products, navigate to the “Products” item in the Shopify admin area.
There you will see all the products that are available in your store.
Check all the products you want to edit and then click “Edit products”.
This will take you to the bulkediting overview. Now you can see the selected products in an Excel-like overview.
For now, you will only see a few properties (price, comparison price, item number) of the products. However, you can adjust these as you wish by clicking on “Columns” at the top right and ticking the desired values.
In the new list, you can now revise all products at once.
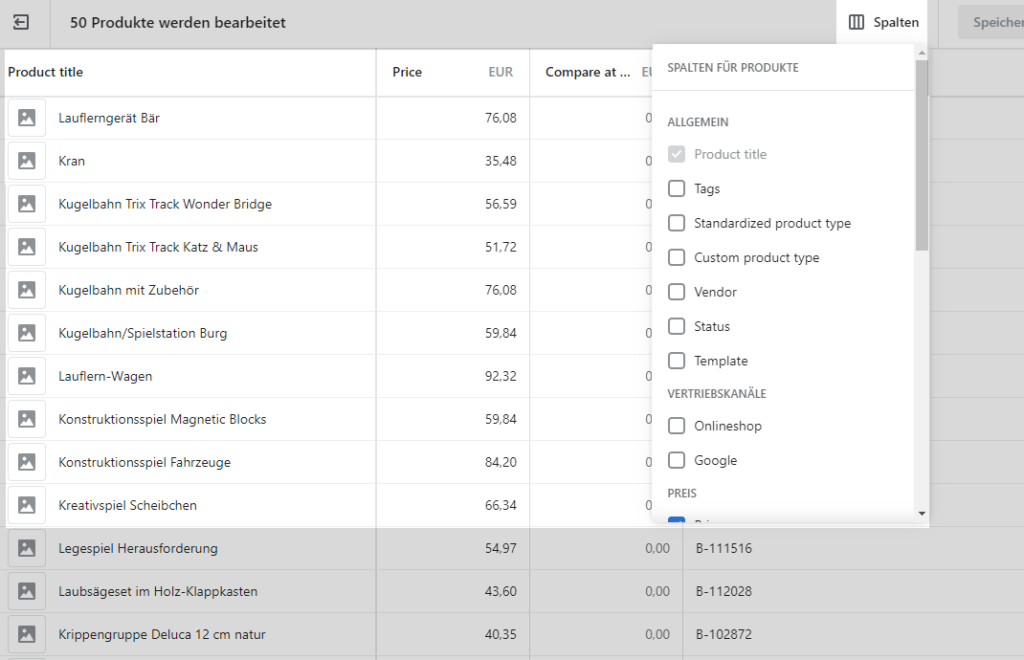
Column selection
Bulk processing via Excel with Shopify
A second way to revise several products would be via the import/export of the product data.
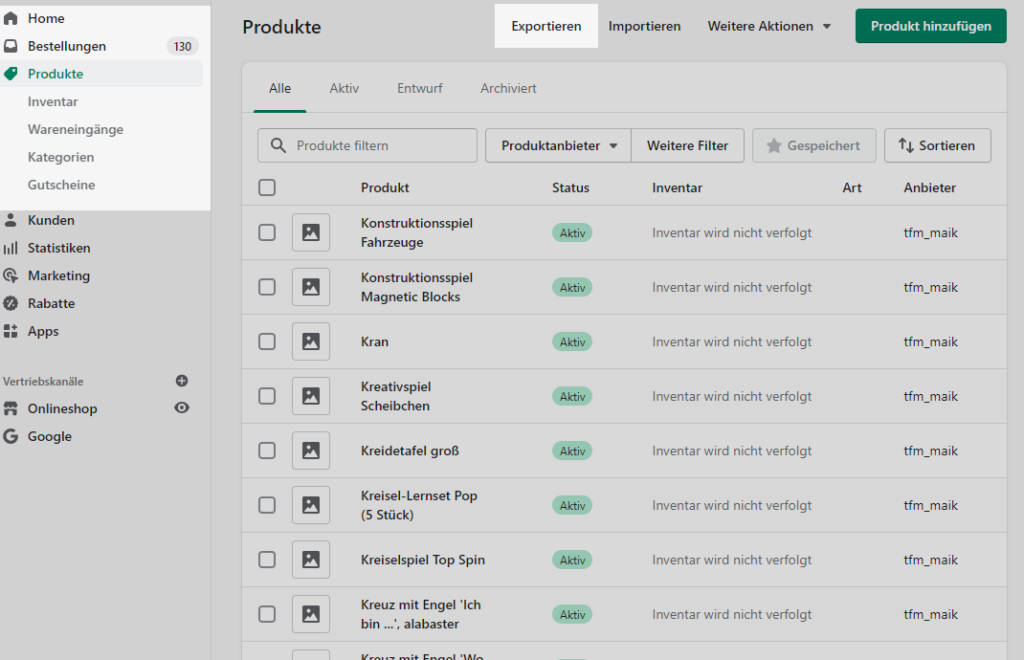
To do this, you must first go to the product overview, where “Export” is located at the top of the various actions.
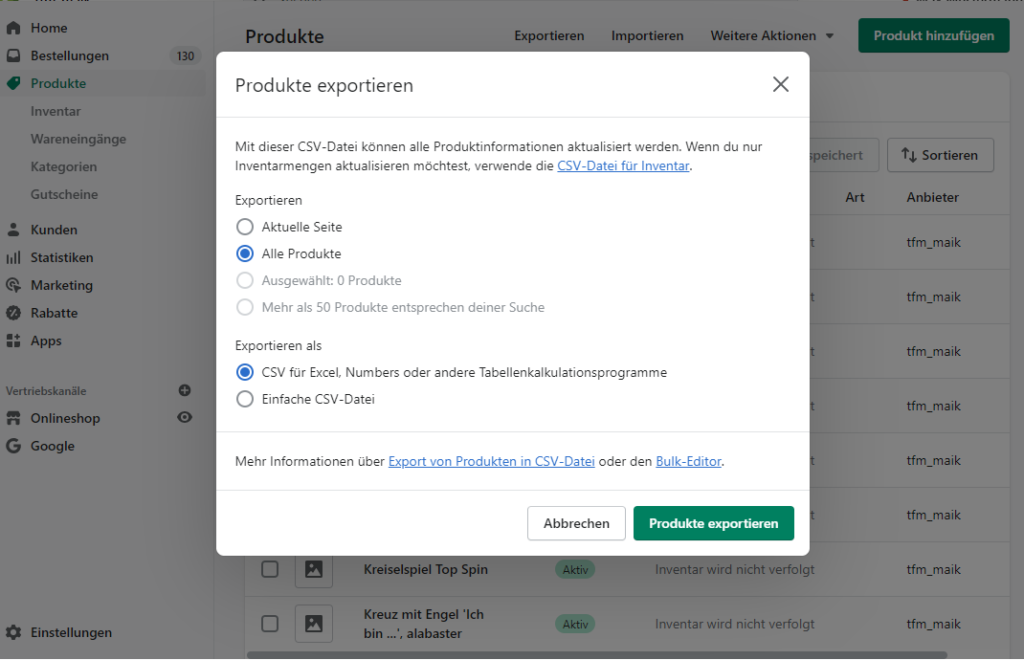
After clicking Export, a window opens with various choices for the export. You can select all products, the currently open page (50 products if full) or ticked products, as well as the file format of the export (CSV for Excel or other spreadsheet programs).
Start the export by clicking on “Export products” at the bottom right. You will receive an email from Shopify with the product export attached.
If you now have the CSV file on your computer, open it with Excel.
This way is more for professionals, because your Excel must be changed to US format first, because Shopify uses the following settings in the file:
- Separator is a comma (“,”)
- Decimal separator is a dot (“.”)
- Texts must be inside double quotes (e.g. “This is the description describing the product”)
In the CSV file you can now adjust the desired values for the products within Excel. When you are done, save this file, because it is needed for the import. (Important: Save also with the above mentioned US format).
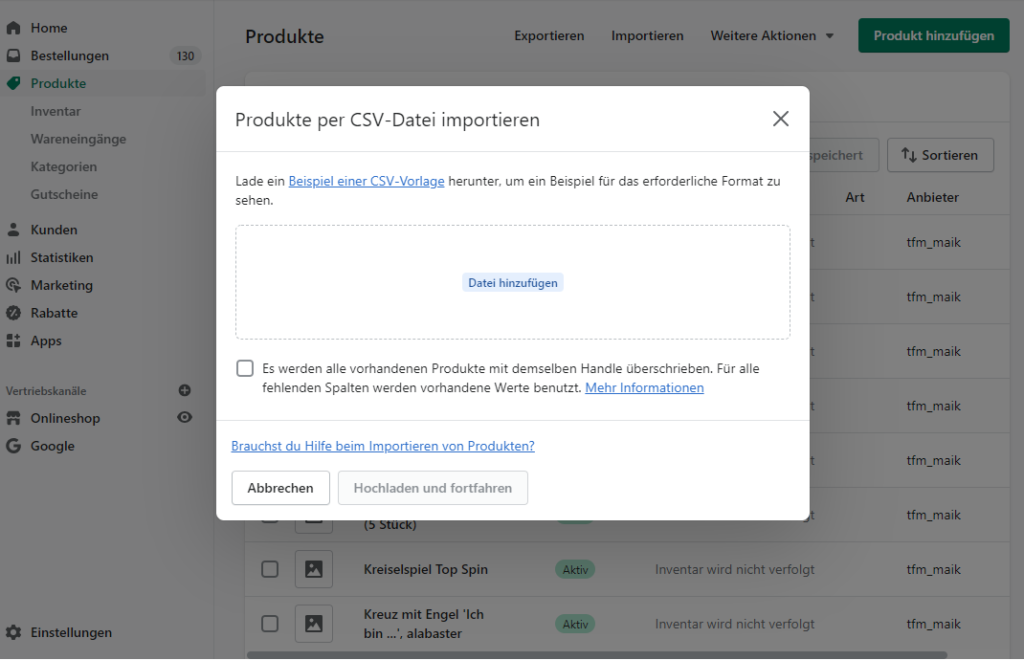
As with the export, go to the product overview. There you will find the “Import” button right next to “Export”.
Again a window will open. You can drag your edited CSV file into this window.
You will also get more information about the product import. Continue by clicking the “Upload and continue” button.
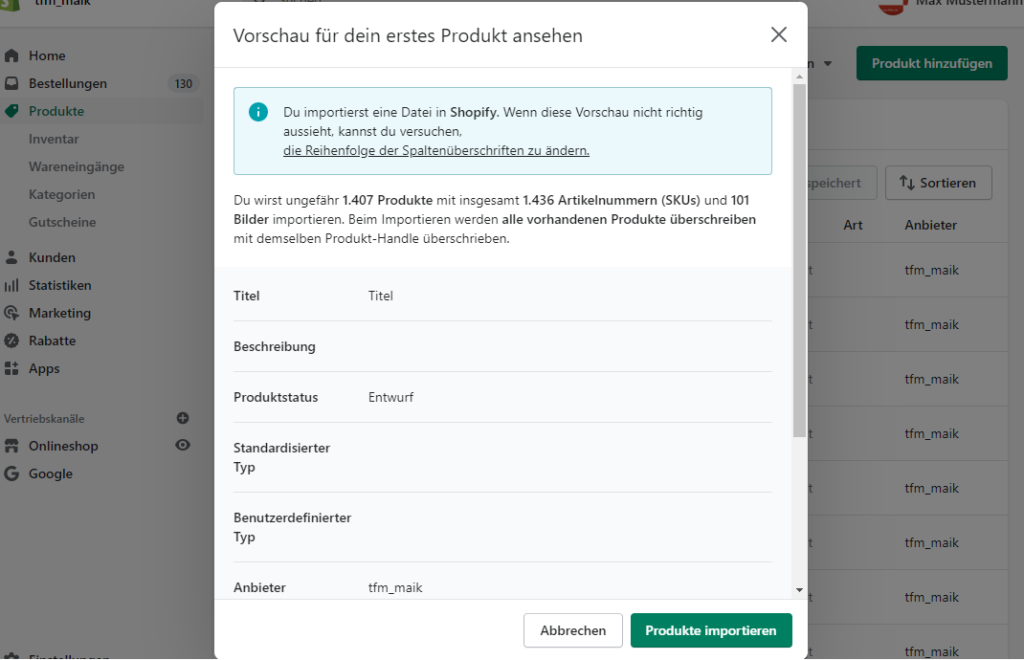
Before starting the import, Shopify gives you information about how many products will be imported, as well as a small preview.
If everything looks good, you can start the import. This may take some time depending on the amount of products to import.
Please keep in mind that the product import/export via Excel can also cause damage if not done properly. We would recommend to do some tests with a few products first.
For more information on importing and exporting, we recommend taking a look at the respective Shopify documentation.