
Customize Shopify design in the theme editor
The Shopify theme editor is a powerful tool that allows you to customize the appearance and design of your online store. When starting your Shopify shop, the theme editor lets you easily change colors, fonts, spacing, and much more to ensure your store has a unique and appealing look—without needing to create a complete design from scratch. You can easily try this out in your test store, even using the trial version of a theme from the Shopify Theme Store.
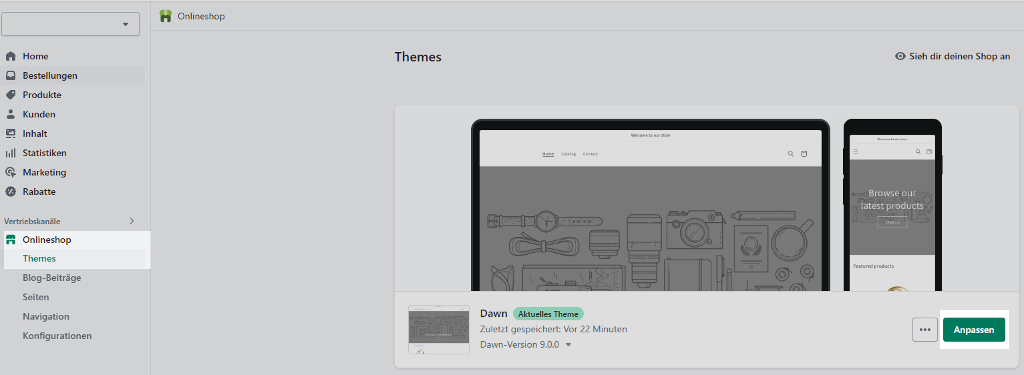
Step 1: Go to the Theme Editor
To edit the theme you want to change, click the “Customize” button next to the respective theme. This will open the theme editor, allowing you to start customizing colors, fonts, spacing, and other design elements.
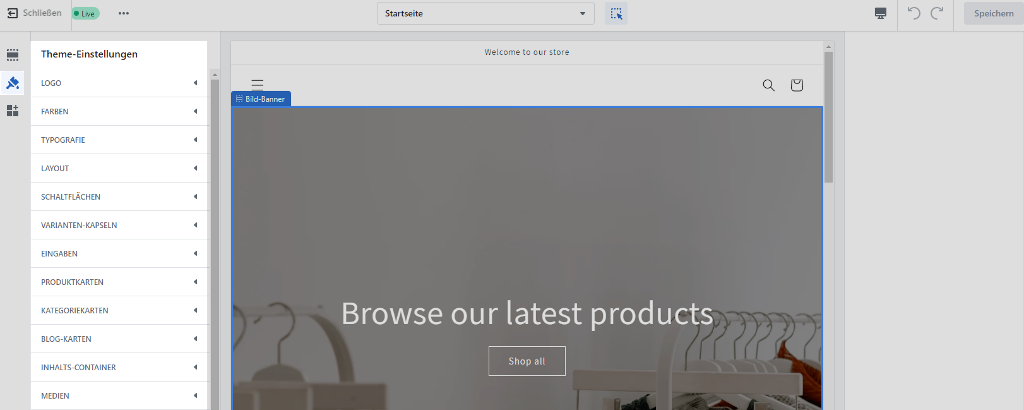
Step 2: Select Theme Settings
In the theme editor, click the “Theme Settings” button in the upper left corner of the screen (paintbrush icon). Here you can customize various settings for your theme, including the homepage, header, footer, and other important elements.
We assist you with your Shopify project
Call us at +49 (0) 30 – 40 36 38 90 or
Step 3: Customize Theme Settings
Depending on the theme, this may include settings for buttons, social media links, and the checkout process. Generally, theme settings always include options for colors, typography, and spacing.
For more information on customizing theme settings, you can refer to the Shopify documentation.

By customizing colors, fonts, spacing, and other design elements, you can tailor the design of your Shopify store to your individual needs—without writing any code. The available theme settings depend on the specific theme. For example, Shopify’s Dawn theme offers options for colors, logos, typography, layout (page width/spacing), media behavior, cart behavior (as a page or slide-out), text alignment, and much more. Other themes may offer more limited options, but Shopify themes can always be further customized if needed.