
Navigation menus in Shopify
All navigation areas can be controlled in Shopify via navigation menus, which you can define autonomously from each other.
Basically, Shopify creates two menus in your store at the beginning. The main menu (main-menu) and the footer menu (footer). Of course, you can also create a completely new menu, but you would have to include this either in the theme code or via the theme editor, which is no longer quite so trivial.
Shopify change navigation menus
Log in to your Shopify store. In the admin area, go to the left menu and click on “Onlineshop”. You will then see the respective sub-items of “Onlineshop”. Select the subitem “Navigation”.
As in the screenshot, you should already see your existing menus. Click on the menu you want to edit.
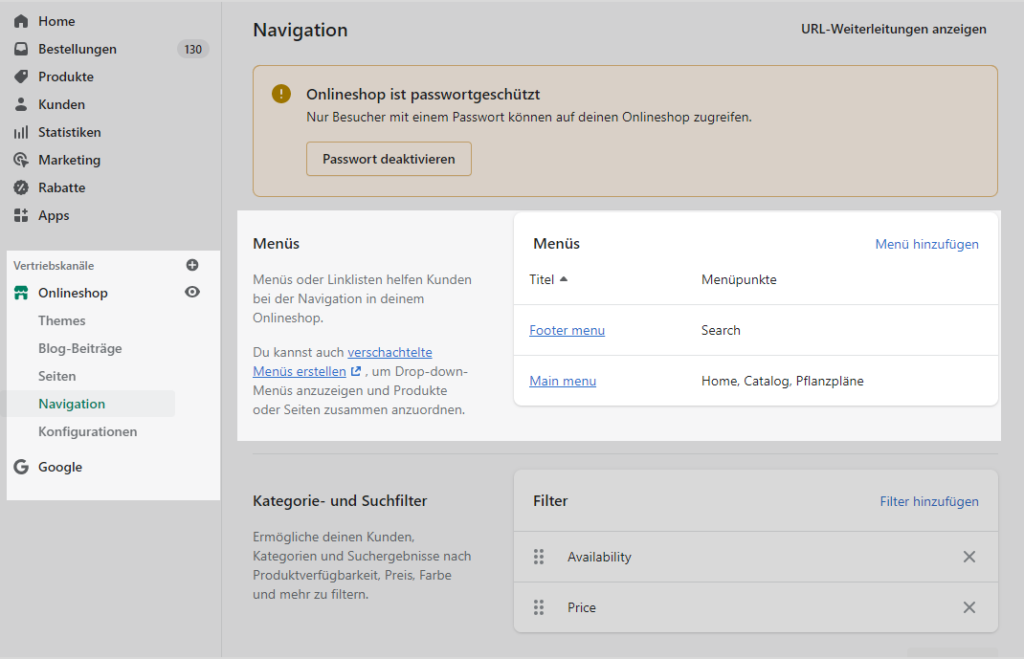
“Onlineshop” -> “Navigation
To add a menu item, press the “Add menu item” button. A menu will open on the right. If you click into the field “Link”, Shopify already gives you a few suggestions to create a link. All internal links, e.g. categories, legal texts, product pages & blogs can be easily found by searching in this field. If you want to link something external, you have to enter the whole URL there. The name is automatically inserted when you select one of the Shopify suggestions. However, you can also assign a name manually here.

The order of the individual menu items can be easily adjusted via drag & drop. Likewise, you can nest menu items to avoid too many menu items or to better structure many menu items.
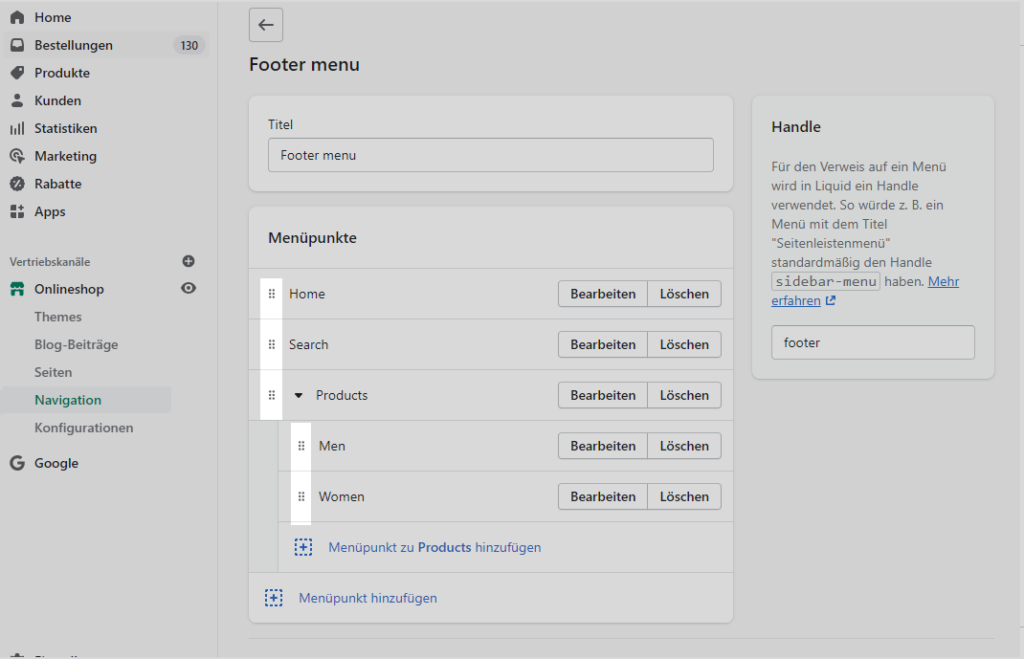
To edit existing points (e.g. change the link / rename) simply click on the respective buttons of the menu item. Again, as when creating the point, an area appears on the right where you can make changes. If you want to remove a link from the menu, you can do it using the “delete” button.

For more information on this topic, see the Shopify documentation.